

If your crawl space smells like a wet dog and looks like a set from a submarine movie, mold is not-so-secretly throwing a party. Encapsulation is how you crash it for good. Done right, crawl space encapsulation locks out ground moisture, stops humid air from waltzing in, and gives mold nowhere to regroup. Done wrong, it traps water, rots wood, and makes you pay twice. This guide shows you when encapsulation is worth it, how to do vapor barrier installation the right way, what it costs, and where DIY stops being brave and starts being a bad idea.
What Is Crawl Space Encapsulation?
Crawl space encapsulation is the process of turning your crawl space into a controlled environment. Think of it like putting a raincoat and a zipper on the ground and walls, then keeping the air dry with dehumidification. The goal is to separate your home’s structure from wet soil and outdoor humidity so mold, rot, and musty air stop ruining the show. The star of the system is a heavy-duty vapor barrier that covers the soil and usually runs up the walls, plus sealed vents, insulated walls and rim joists, and a dehumidifier that holds humidity under 60 percent.
Is Encapsulation Worth It?
Short answer: yes, if moisture is the root problem. Encapsulation is worth the spend when you have recurring crawl space mold, damp subfloors, musty odors, cupping hardwoods, pest activity chasing moisture, or insulation that keeps falling because it is wet and heavy. You also benefit if you live in a humid climate where open vents are basically a free humidity subscription. Encapsulation protects framing from rot, reduces odors, helps HVAC and ducts work better, and keeps the living areas cleaner and healthier. If your crawl space is already dry year-round with perfect drainage and no humidity spikes, you may not need the full treatment. Most homes are not that lucky.
Find And Fix Moisture Sources
Encapsulation lasts only if the water problem gets handled first. Do not lay plastic over a swamp and call it a day. Track down why the crawl space is damp and fix that before any vapor barrier installation.
Start outside. Gutters need to actually have gutters and be clean, with downspouts shooting water at least 6 to 10 feet away from the foundation. Grade soil so it falls away from the home. Patch obvious sprinkler overspray. Check for low spots against the foundation where water pools. Inside the crawl space, look for standing water, damp soil, efflorescence on walls, and plumbing leaks from supply lines, drains, and condensate. If your crawl space floods during storms, you are a drainage-first project. If you see suspect growth on framing or insulation, plan for mold remediation before you install anything. Pro tip from the boring-but-true file: fix the leak first, then fix the damage.
Drainage And Ground Prep
Once you cut off the water sources, you are ready to prep the ground. Pull trash, rocks, and construction debris so the liner will not puncture. Rake or shovel to smooth sharp humps. If water collects along the perimeter, install an interior French drain to a sump basin and pump. Homes with high seasonal water tables almost always need a sump. If the soil is wet, give it time and ventilation to dry down before sealing it off. You are building a dry system, not a terrarium.
Mold remediation happens here too. Clean and treat growth on wood with an EPA-registered cleaner, then let surfaces dry thoroughly. If you are dealing with widespread growth, soft or rotted wood, or limited access, that is a hire-a-pro moment. And if your home predates the 1990s and has mystery insulation or pipe wrap, do not disturb anything that could contain asbestos or lead. Safety first, heroics later.
Vapor Barrier Installation That Works
This is where good projects go great or cheap projects go back to the store. Your vapor barrier is the shield between your home and ground moisture. Use quality material, and install it like it matters.
Material: Choose a reinforced polyethylene liner in the 12 to 20 mil range. Thicker lasts longer, resists punctures, and is easier to seam well. Skip the 6 mil bargain roll. That stuff tears during install and fails under the first crawl-through.
Cuts and layout: Dry-fit sheets so seams do not land mid-traffic or around obstacles if you can help it. Overlap edges 6 to 12 inches. Use crawl space-rated tape or seam welds made for polyethylene, not generic duct tape. Run the liner up the foundation walls 2 to 3 feet at minimum, or all the way up if you are insulating walls. Wrap and seal around piers and posts like you are frosting a cake you actually want to eat. Any penetration is a leak if it is not sealed.
Fastening: Where the liner meets walls, use a continuous bead of polyurethane or butyl mastic behind the liner, then secure with mechanical fasteners. Termination bars or furring strips help clamp the plastic cleanly. Tape seams tight, roll them to bond, and do not leave fish-mouths or gaps. If access traffic is heavy, add crawl space pads or a thin cap sheet in main pathways so the liner does not get chewed up by future you.
Seal Vents And Air Leaks
Open vents let humid air in, which condenses on cool surfaces and feeds mold. That is the opposite of encapsulation. In most humid and mixed climates, the modern approach is to seal those vents and turn the crawl space into a sealed or semi-conditioned zone. Cap or block vents with insulated covers, weatherstrip the crawl door, and seal rim joists and penetrations. Closed-cell spray foam or careful air sealing plus rigid foam at the rim works well.
Got combustion appliances down there? You need to keep them safe and code-compliant. Some setups require dedicated combustion air or a different location. This is not the place to wing it. When in doubt, bring in a qualified contractor to confirm the plan.
Insulation Choices That Do Not Sag
Skip the soggy fiberglass ceiling batts routine unless your crawl space humidity will be tightly controlled and you are positive you can keep rodents out. A better approach is insulating the foundation walls with rigid foam rated for ground contact and moisture. Seal seams and edges, then cover as required by code for fire exposure. Air seal and insulate the rim joists with closed-cell spray foam or a rigid foam plus sealant combo. If ducts pass through the crawl space, insulate and seal them now, because conditioning air while letting it leak into a crawl space is cash tossed into a hole.
Dehumidification And Monitoring
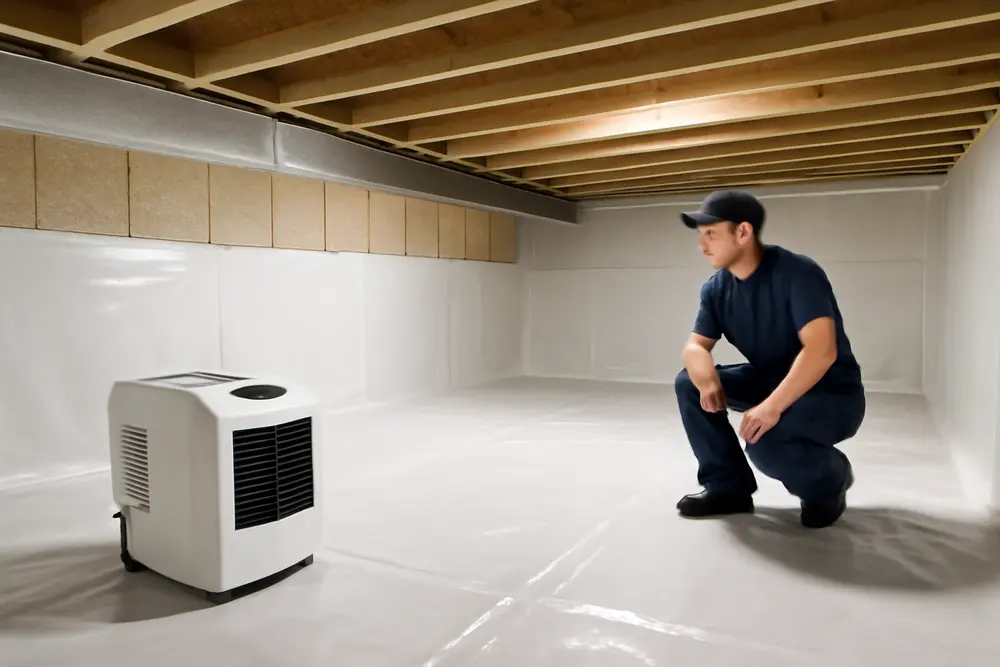
Encapsulation slows moisture to a crawl. Dehumidification finishes the job. A crawl space dehumidifier sized for your square footage and climate keeps relative humidity in the 45 to 55 percent range. Set it and drain it automatically to your sump basin or a condensate pump. Do not rely on a bucket unless you like crawling around with a shop vac on weekends.
Add a hygrometer you can read without belly-crawling, or install a remote sensor. If your HVAC design allows, a small supply register into the sealed crawl can help condition it, but do not do that without a plan for pressure balance and code compliance. The point is a stable, dry space year-round, not a hidden wind tunnel.
Costs And DIY vs Pro
Pricing depends on your crawl space size, condition, drainage needs, and the materials you choose. Here is what most homeowners see across the U.S. market for crawl space encapsulation.
| Scenario | Typical Total Cost | Approx. Cost per Sq Ft |
|---|---|---|
| Professional full encapsulation | $5,000 to $15,000 | $3 to $7 |
| 1,500 sq ft crawl space | About $4,500 to $15,000 | $3 to $10 |
| DIY vapor barrier focused | $1,000 to $3,500 | Materials often $0.50 to $1 for barrier alone |
What drives cost up: significant mold remediation, structural repairs, interior drainage or sump pump installs, thicker 12 to 20 mil liners, rigid foam insulation, and a quality crawl space dehumidifier. Most pro jobs include sealing vents, vapor barrier installation, wall insulation strategy, and dehumidification with a warranty.
DIY can save on labor if your space is roomy, dry after fixes, and you are handy with detail work. The risks are poor seams, missed air leaks, wrong materials, or trapping moisture because you skipped drainage. Local codes can also trip you up. Professionals bring diagnostic gear, a build-it-once process, code knowledge, and warranties. You bring elbow grease and podcasts. Choose accordingly.
Common Mistakes To Avoid
Do not install a vapor barrier over wet soil or active leaks. You will lock moisture underground, speed up rot, and blame the plastic. Do not use thin 6 mil plastic that tears the first time a plumber belly-flops across it. Seal every seam and penetration like it hates you. Leaving gaps around piers, plumbing, or wiring is an engraved invitation for humidity. Do not forget a dehumidifier and then act surprised when humidity spikes all summer. Fiberglass batts jammed between joists become mold sponges if the crawl space is still moist. If you ignore exterior grading and gutter downspouts, water will keep showing up like an uninvited relative. And if you have gas appliances in the crawl, do not box them in without a combustion air strategy and permits.
A Smart Step-By-Step Snapshot
Walk the exterior and fix grading, gutters, and downspouts; correct interior water sources and add French drains or a sump where needed; clean out debris, level the soil, remediate mold, and dry the space; seal vents, rim joists, and penetrations; insulate walls if that is your plan; perform vapor barrier installation with a 12 to 20 mil liner, overlapping and sealing seams, wrapping piers, and mechanically fastening to walls; install a crawl space dehumidifier with reliable drainage and a humidistat; set up monitoring, then schedule periodic inspections so small issues never become big ones.
DIY Tips That Actually Help
Measure twice, buy once. Get enough liner to run up walls and wrap piers, plus 10 to 15 percent extra for mistakes. A knee-friendly set of pads and a headlamp make this less miserable. Use a real polyethylene seam tape and a quality mastic, not bargain-bin substitutes. Roll your seams to bond them. Where traffic is likely, add extra protection strips so the barrier does not get shredded by future maintenance. Keep a moisture meter and a hygrometer on hand. If humidity does not drop under 60 percent after encapsulation and dehumidification, something is leaking, draining wrong, or undersized.
Maintenance That Keeps It Tight
Encapsulation is not a set-and-forget forever spell. Plan quick inspections at the start of summer and winter. Check your hygrometer readings, test the dehumidifier, clean or replace its filter, and confirm the drain line is clear. Peek at the sump pump and discharge if you have one. Scan seams for damage, look at the liner around piers and access points, and patch any scuffs with matching tape or a repair kit. Watch for pests, because rodents treat plastic like a hobby. A quality system can last 15 to 20 years or more if you do these lightweight checkups.
When Should You Call A Pro?
Bring in a professional if you have standing water that keeps returning, visible mold on structural wood beyond a few spots, sagging or rotten joists, tight or contaminated spaces, or any combustion appliances in the crawl space. If you need permits, code coordination, or a guaranteed warranty, it is time to phone a team that does this all week. Best Option Restoration of Travis County inspects, tests, and builds a crawl space encapsulation plan that does not cut corners. We handle drainage, mold remediation, vapor barrier installation, sealing, insulation, and dehumidification as a single system, not a pile of parts. If you want the musty crawl space saga to end, we are ready to help.
Quick FAQ
How thick should the vapor barrier be?
For long-lasting results, 12 to 20 mil reinforced polyethylene is a solid choice. Thinner barriers tear easily and age out faster.
Do I have to seal the vents?
In humid and mixed climates, yes. Open vents invite moisture. If your local code or climate differs, ask a qualified contractor for the right approach.
Do I still need a dehumidifier after encapsulation?
Usually yes. Encapsulation slows moisture entry, but a dehumidifier keeps humidity in the safe zone.
Can I encapsulate over a dirt floor without drainage?
Not if the soil stays damp or water enters during storms. Fix drainage first or you will trap moisture.
Will it lower my utility bills?
Often, especially if ducts run through the crawl space and you are sealing and insulating correctly. Your numbers depend on the home and climate.
How long does a good system last?
With quality materials and basic maintenance, 15 to 20 years is common.
If you want crawl space encapsulation that actually outlasts your next set of sneakers, talk to Best Option Restoration. We are blunt about what matters, careful about the build, and allergic to mold making a comeback.